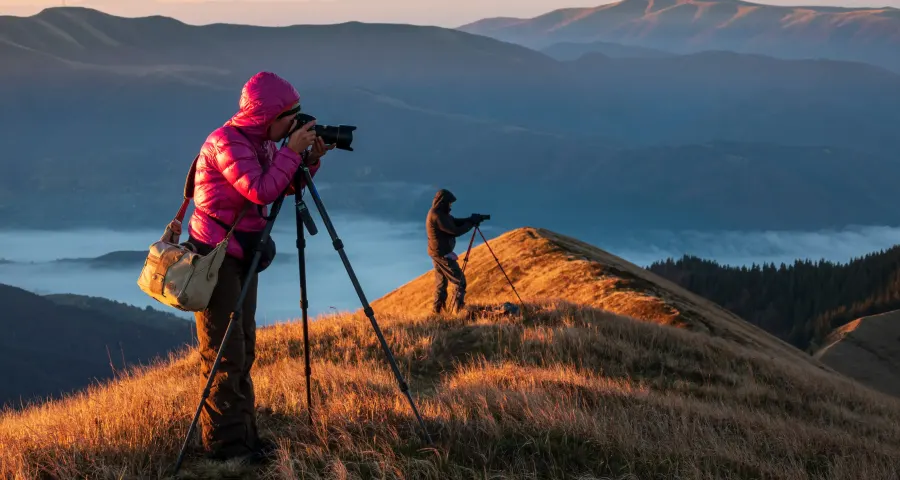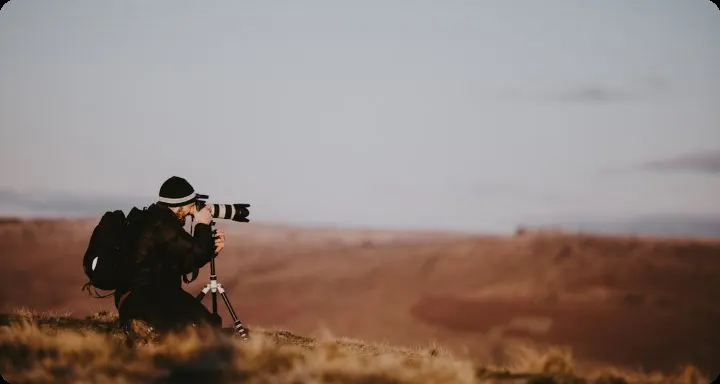
Choosing the best travel tripod for wildlife photography is more demanding than choosing one for general use. Wildlife photography puts extra pressure on every part of a support system. A tripod that feels excellent for city breaks, light landscapes, or casual travel can feel far less convincing once you add a longer lens, uneven terrain, wind, and the need to react fast.
For many photographers, the real question is not which tripod looks best in a comparison chart. It is the tripod that can travel comfortably and still feel trustworthy when the moment arrives. That distinction matters because wildlife trips are shaped by logistics as much as by gear. Flights, baggage limits, long drives, and walks between locations all affect what makes sense in the field.
Why a travel tripod matters more in wildlife photography than most travelers expect
A travel tripod is often described as a compromise. In wildlife photography, that compromise can be either smart or frustrating, depending on how well it fits the trip. If you are flying with strict weight limits or moving through several destinations, a compact support can make the difference between carrying a tripod every day and leaving it behind.
The challenge is that wildlife photography exposes weaknesses quickly. Long focal lengths magnify vibration. Uneven ground makes setup less forgiving. Subjects do not wait while you adjust unstable legs or fight a drifting head. In that context, a tripod is not just an accessory. It becomes part of how reliably you can work.
That is why this decision deserves more care than a simple search for the smallest model. A useful travel tripod should reduce the burden of transport without becoming the weakest part of your field setup. It has to justify its place in your luggage, and in the moment you need a steady frame.
What actually makes a travel tripod good for wildlife photography
A good travel tripod for wildlife work begins with realistic support for the camera and lens you actually use. Marketing claims usually emphasize maximum load, but real performance is more nuanced. A tripod may hold your setup in a technical sense while still feeling nervous, top-heavy, or slow to settle after each touch.
That is one reason photographers comparing travel models to the best wildlife photography tripod category often discover that portability and stability do not scale equally.
Size
Packed size matters almost as much as weight. Folded length affects how easily a tripod fits into luggage, overhead bins, backpacks, or the side of a vehicle bag. A compact folded size is valuable, but it often comes with more leg sections. That helps during travel, though it can reduce rigidity and slow setup. In wildlife photography, ease of use determines how quickly you can respond when an opportunity arises.
Height
Working height matters just as much. A tripod that remains too short without its center column extended becomes tiring over time. Raising the center column adds convenience, but it usually reduces stability. In wildlife photography, that trade-off matters more because even slight movement becomes visible at longer focal lengths.
Your priorities should be
The most useful travel tripods tend to balance several priorities at once:
Compact packed size.
Enough working height without relying too much on the center column.
Leg stiffness that feels credible with your usual lens.
Locks and adjustments that stay easy to use in dust, cold, or rain.
Head compatibility that supports smooth framing.
Material also influences the experience. Carbon fiber is often the preferred option for travel because it reduces weight while maintaining better stiffness than many cheaper alternatives. Aluminum can still make sense when budget matters more, but it usually asks you to accept extra mass.
The head deserves equal attention. A compact tripod with a weak or awkward head rarely feels satisfying in use. Ball heads can work well for lighter systems and mixed travel photography.
More deliberate wildlife use may benefit from a head that offers steadier control and more confidence when repositioning. B&H offers a useful overview of how to choose the right tripod head, especially for understanding how head design changes the handling of your setup in the field.
Before moving on, one practical point matters: not all wildlife photography tripods are built to solve the same problem. Some are designed to travel efficiently. Others are designed to hold heavier lenses with minimal compromise. Treating those goals as interchangeable often leads to poor choices.
Travel tripod vs full-size tripod vs monopod
The clearest way to choose well is to compare support options by field use rather than by reputation or brand loyalty.
| Support type | Portability | Stability | Best use case | Main limitation |
|---|---|---|---|---|
| Travel tripod | High | Moderate to good | Flights, mixed itineraries, walking trips, moderate lenses | Less confidence with very long lenses or strong wind |
| Full-size tripod | Low to moderate | Very high | Long lenses, hides, patient shooting, and difficult light | Heavier and less pleasant to move with |
| Monopod | Very high | Moderate | Mobile sessions, roadside use, and reducing fatigue | Less useful for waiting in place or slower shutter work |
A travel tripod works best when the trip demands flexibility. It suits photographers who move often, combine wildlife with landscapes, or need something compact enough to carry all day.
A full-size tripod is a better fit when stability takes precedence over portability, and the lens setup is more demanding. A monopod helps differently. It improves handling and reduces strain, but it does not replace a tripod when you need a settled platform.
When a travel tripod works well in the field and when it does not
A travel tripod performs well on fly-in trips, mixed itineraries, and wildlife journeys where mobility matters. It also suits photographers who alternate between shorter telephoto work, habitat images, and general travel photography. In those conditions, the benefit is not only lower weight. It is the freedom to carry a support system without turning each transition into a burden.
That said, the format has clear limits. Very long lenses are exposed to vibration. Wind highlights small weaknesses in leg stiffness. Rough ground and hurried repositioning can make compact designs feel less secure. If your work depends on maximum steadiness and you often shoot from fixed positions, a travel model may feel like a compromise you notice too often.
For broader field advice, REI’s guide on how to take great wildlife photos is worth reading because it connects equipment decisions with observation, behavior, and shooting discipline rather than reducing success to gear alone.
How to choose based on your trip style
The smartest tripod choice usually comes from the structure of the trip rather than from abstract specifications. If you define the journey clearly, the gear decision becomes simpler.
If you are flying with strict baggage limits, folded size and total carry weight matter a great deal. In that case, a compact carbon fiber tripod often makes the most sense. If the trip is primarily vehicle-based, you can accept more bulk and prioritize stiffness with greater confidence. If long walks are part of the plan, the balance shifts again toward portability and ease of carry.
A practical way to narrow the choice is to ask:
How often will you carry the tripod for long periods?
How large your usual lens setup really is.
How much wind, uneven ground, or harsh conditions you expect.
Whether you need one support for both wildlife and general travel use.
Kit balance also matters. Support decisions do not happen in isolation. Camera body, lens size, and the type of travel all influence what feels reasonable. That is why the best travel camera for wildlife photography can be a valuable companion during planning. A lighter, better-balanced kit can make a travel tripod feel far more practical and effective.
Common buying mistakes that lead to regret in the field
Many disappointments come from choosing a tripod based on a single headline feature rather than real-world use.
Buying for weight alone. A very light tripod can look ideal before the trip, then feel too short, too flexible, or too nervous once you start shooting.
Trusting load ratings too literally. A tripod may be rated for your gear and still deliver poor real-world stability, especially with longer lenses.
Ignoring the head. A mediocre head can make an otherwise good tripod feel slow, awkward, or unstable during framing.
Accepting too much reliance on the center column. Extra height is useful, but frequent use of the center column often weakens support at exactly the moment you need more confidence.
Choosing without thinking about the trip. Airport transfers, long drives, walking sections, and the pace of the itinerary all shape what will feel usable each day.
Choose for your real field use, not the spec sheet alone
The best travel tripod for wildlife photography is not the smallest, the tallest, or the one with the boldest numbers. It is the tripod that remains easy to travel with and still feels dependable when the shooting begins. That usually means enough stability for your usual lens, enough height for comfortable work, and enough compactness to bring it without hesitation.
A strong decision comes from honesty about the trip ahead. Think about the flights, the walking, the vehicle time, the lenses you carry most often, and the kind of support you will truly use each day. If you want to pair that gear planning with journeys designed around serious photographic opportunities, explore wildlife photography tours to compare small-group experiences built for thoughtful logistics and better time in the field.